These engineering and design process activities for middle schoolers and upper-elementary students are a great way to introduce STEM while also building problem-solving skills, teamwork, and a positive attitude toward mistakes. Students learn that good ideas rarely work perfectly the first time, and that going back to improve a design is not failure. It is part of the process.
That is a pretty helpful message during the first few weeks of school.
The engineering design process also gives students a clear structure they can use throughout the year. Whether they are building a model, testing a solution, completing a science challenge, or working through a real-world problem, the same basic steps continue to apply.
The challenge is helping students understand that the engineering design process is more than a list of vocabulary words. They need opportunities to see how the steps connect, apply them to familiar problems, and experience the process for themselves.
Here are six engaging engineering and design process activities for middle school students in grades 4-8. Each one helps introduce Ask, Imagine, Plan, Create, Test, and Improve at the beginning of the school year.
1. Begin With a Problem Students Understand
Before introducing the official steps, start with a simple classroom problem.
You might ask students how they would keep pencils from constantly rolling off their desks, organize a messy supply station, protect a dropped object, or build something that can hold the weight of a textbook.
Give students a few minutes to talk with a partner and come up with a solution. As they share their ideas, ask questions about how they reached them.
What problem were they trying to solve? Did they consider more than one idea? How would they know whether their solution worked? What would they change if it did not?
Students will usually begin using parts of the engineering design process without realizing it. They identify a problem, imagine possible solutions, make a plan, and think about testing their idea.
Once they have already worked through that thinking, the formal steps feel much more meaningful. Instead of introducing six completely unfamiliar terms, you are simply giving names to a process they have already started using.
2. Introduce the Steps With a Gallery Walk
The engineering design process includes several connected steps, and introducing them all through one long set of notes can become overwhelming. Breaking the process into smaller sections makes it easier for students to understand what happens during each stage.
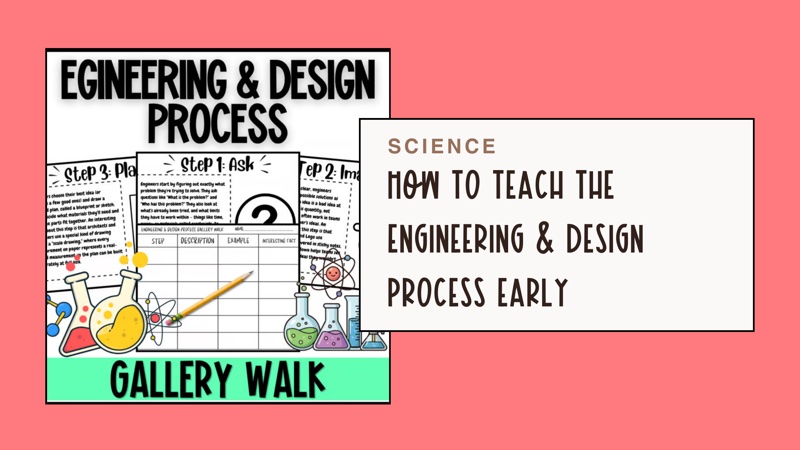
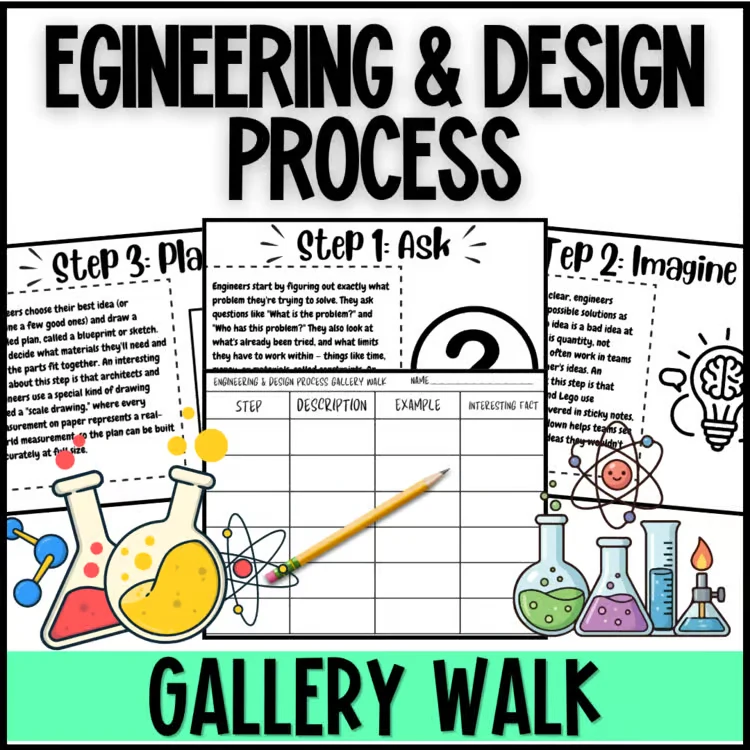
The Engineering Design Process Gallery Walk introduces students to the six steps of the process: Ask, Imagine, Plan, Create, Test, and Improve.
Students rotate through six reading stations and record the description, an example, and an interesting fact for each step. A student answer sheet and completed answer key are included, so the activity is ready to use as a beginning-of-the-year science or STEM lesson.
Shop the Engineering Design Gallery Walk on TPT
I especially like gallery walks at the beginning of the year because they do more than introduce content. Students also practice moving around the classroom, working at an appropriate volume, sharing space, and completing an assignment with a partner or small group.
It gives you a chance to teach those routines while students are focused on something more interesting than a list of classroom procedures. Once students understand the routine, you can use the same structure in other subjects, including these beginning-of-the-year map skills activities.
The station format also keeps students from staring at one long reading passage. They can focus on one step at a time and gradually build an understanding of the complete process.
After the gallery walk, bring the class back together and review how the six steps connect. Students can share which step they think would be easiest, which might be the most difficult, and why every step is important.
3. Show Students That the Process Is a Cycle
One of the biggest misconceptions students have about the engineering design process is that it always moves in a perfectly straight line.
Ask. Imagine. Plan. Create. Test. Improve. Done.
Real design work is rarely that neat.
An engineer may test a design and discover that the original plan needs to change. A team may begin creating something and realize that it needs to imagine a completely different solution. Improving one part of a design may create a new problem somewhere else.
When you introduce the process, make sure students understand that moving backward is allowed. In fact, it is expected.
You can demonstrate this with a familiar example. Imagine that someone is designing a new backpack. The first version may hold plenty of supplies but feel uncomfortable. After testing it, the designer might return to the planning stage and change the straps. The new straps may be more comfortable but not strong enough, leading to another round of testing and improvement.
This helps students see that the engineering design process is not about getting the correct answer on the first try. It is about continuing to learn from each attempt.
That mindset can carry over into nearly every subject. A rough draft can be revised. A science investigation can be adjusted. A difficult math strategy can be reconsidered. A first idea can become a better idea.
For extra practice with questions, hypotheses, testing, and evidence, these scientific method activities for middle school make a natural companion lesson.
4. Try a Simple STEM Design Challenge
Once students understand the steps, let them use the engineering design process to solve a small problem.
This does not need to become an elaborate STEM project that requires bags of supplies. A few sheets of paper, index cards, tape, straws, or craft sticks are usually enough.
Students might design a paper structure that can support a book, build the tallest freestanding tower possible, create a bridge that spans two desks, or make a container that protects an object during a short drop.
The actual challenge is less important than the process students use.
Before building, require students to identify the problem and any limitations. Give them time to imagine several possible solutions instead of immediately grabbing supplies. Have them sketch a plan before creating their design.
Then comes the most important part: testing and improving.
Students are often excited to build but less interested in slowing down to examine what happened. Ask them to look carefully at their results. Which part worked? Where did the design fail? What specific change could make it stronger, taller, safer, or more effective?
Even a very simple challenge can become a meaningful engineering lesson when students are required to explain their thinking.
5. Make Improvement Part of the Classroom Culture
The Improve step may be the most valuable part of the engineering design process to teach at the beginning of the year.
Many students see revision as something they have to do because their first attempt was wrong. They may become frustrated when a tower falls, a model breaks, or an idea does not work the way they expected.
Engineering gives us a different way to talk about those moments.
A failed test provides information. It tells us something about the design that we did not know before. The goal is not to hide the mistake or start over without thinking. The goal is to use that information to make the next version better.
After a design challenge, ask students to explain one thing they learned from testing their creation. Then have them describe one improvement they would make if they had more time.
You can even celebrate the most useful failures. Which team discovered an important problem? Which design changed the most between the first and second versions? Who used test results to make a thoughtful improvement?
This shifts the focus away from whose structure was tallest or whose design looked the best. Students begin to understand that successful engineering is based on learning, testing, and improving, not simply winning the challenge.
6. Connect Engineering to the Real World
Students sometimes hear the word engineer and immediately picture someone building bridges or working with complicated machines. Those are certainly examples of engineering, but the basic design process appears in many different careers and everyday situations.
Software developers test and improve apps. Product designers create safer or more useful objects. Environmental engineers develop solutions to problems involving water, pollution, and waste. Even something as simple as redesigning a classroom routine involves identifying a problem, considering solutions, trying a plan, and making improvements.
Ask students to think about an object they use every day. It might be a water bottle, shoe, pencil sharpener, video game controller, desk, or lunchbox.
What problem was the object designed to solve? What choices did its designer make? How might the object have changed after it was tested? What could still be improved?
This kind of discussion helps students recognize that almost every human-made object went through some form of design process before it reached them.
It also opens the door to future STEM lessons. Throughout the year, you can return to the same six steps whenever students face a problem that requires planning, creating, testing, and improving.
Start the Year With an Engineering Mindset
The beginning of the year is about more than learning names, passing out supplies, and practicing routines. It is also a chance to establish how students will approach challenges in your classroom.
Teaching the engineering design process shows students that they are allowed to ask questions, consider different ideas, test solutions, and change their minds. It reminds them that the first attempt does not have to be perfect.
A simple problem-solving discussion, an engineering design process gallery walk, and a quick hands-on challenge can provide a strong foundation for future science and STEM learning.
The Engineering Design Process Gallery Walk is an easy way to introduce all six steps while also getting students moving and practicing beginning-of-the-year classroom routines.
View the Engineering Design Process Resource on TPT
Most importantly, it helps students begin the year with a mindset they can carry into every subject: ask questions, make a plan, try something, learn from the results, and keep improving.